Embark on a flavorful journey with Turkish pide dough as you uncover the essential tips for creating a culinary masterpiece that will leave you craving more.
 Add to Recipe Book
When it comes to mastering Turkish pide dough, there are five vital pointers that can enhance your culinary skills. From choosing the ideal flour to grasping the pivotal equilibrium of wet and dry ingredients, each step plays a substantial role in achieving that desired texture and flavor. But there's more to this art than just ingredients and measurements. To truly excel in creating the perfect pide, you'll need to explore the intricacies of kneading techniques, dough resting, and the art of shaping and baking.
Choosing the Right Flour
Select high-quality bread flour when making Turkish pide dough to guarantee the authentic taste and texture you desire. The type of flour you choose significantly influences the final outcome of your pide. Bread flour, with its higher protein content compared to all-purpose flour, is ideal for Turkish pide. The protein in the flour is vital for gluten development, which is essential for creating the characteristic chewy texture of pide.
When selecting bread flour, pay attention to the protein content. Aim for a flour with around 12-14% protein to achieve the best results. Higher protein content promotes better gluten formation, giving your pide dough elasticity and structure. This is essential as pide dough needs to be stretchy enough to hold the toppings without tearing apart during baking.
Moreover, consider the hydration levels of your dough when working with bread flour. Higher protein content flours tend to absorb more liquid, so you may need to adjust the hydration levels slightly compared to using all-purpose flour. Securing the right hydration levels will help you achieve the perfect consistency for your Turkish pide dough, making it easier to work with and resulting in a delicious end product.
Balancing the Ingredients
When crafting Turkish pide dough, achieving the perfect balance of ingredients is essential for creating the authentic flavors and textures that define this traditional dish. To make sure your pide turns out just right, pay close attention to measuring accurately and maintaining the proper dough consistency.
- Measuring Accurately: Precise measurements are vital when balancing ingredients for Turkish pide dough. Use a kitchen scale to weigh your flour and liquids for the most accurate results. Even slight variations in measurements can impact the final outcome.
- Consistent Dough Texture: The texture of your dough plays a significant role in the success of your pide. Aim for a smooth and elastic texture that isn't too sticky or too dry. Adjust the amount of flour or liquid as needed to achieve the perfect balance.
- Balancing Wet and Dry Ingredients: Finding the right balance between moist (such as water or yogurt) and dry ingredients (like flour and salt) is key to creating a dough that's easy to work with and results in a delicious pide.
- Testing and Adjusting: Don't be afraid to test your dough and make adjustments as you go. If the dough feels too sticky, gradually add a bit more flour until it reaches the desired consistency. Similarly, if it seems too dry, a touch of water can help bring it together.
Kneading Techniques
To master the art of crafting perfect Turkish pide dough, understanding and implementing proper kneading techniques is vital. Kneading is an essential step that helps develop gluten in the dough, giving the pide its characteristic chewy texture. When kneading the dough, pay close attention to its consistency. The dough should be soft but not sticky, and it should easily pull away from the sides of the bowl. Achieving the right dough consistency ensures that your pide turns out light, airy, and flavorful.
When it comes to kneading time, the key is to be patient and thorough. Typically, Turkish pide dough requires around 10-15 minutes of kneading by hand. During this process, use the heel of your palm to push the dough away from you, then fold it back towards yourself. Rotate the dough a quarter turn after each fold and continue kneading until the dough is smooth and elastic. This process helps distribute the ingredients evenly and allows the gluten to develop properly.
Resting the Dough
Allow the dough to rest for a minimum of 30 minutes after kneading to facilitate gluten relaxation and improve the dough's texture. This step is pivotal in achieving the desired elasticity and softness in your Turkish Pide. During this resting period, the gluten strands in the dough will relax, making it easier to shape and ensuring a tender bite when baked.
- Dough Elasticity: Allowing the dough to rest helps develop its elasticity, making it easier to stretch and shape without snapping back. This elasticity is essential for traditional Turkish Pide, giving it the characteristic chewy texture.
- Temperature Control: Maintain a consistent temperature in the resting area to promote proper fermentation. Ideal conditions are around 75-80°F (24-27°C), which helps the yeast activity and gluten development without overproofing.
- Covering the Dough: While resting, cover the dough with a damp cloth or plastic wrap to prevent it from drying out. This covering retains moisture and warmth, aiding in the fermentation process and ensuring a smooth dough texture.
- Resting Time: The minimum 30-minute resting time is necessary, but you can extend it for up to 2 hours for even better results. Longer resting periods allow for more gluten relaxation and a deeper flavor development in the dough.
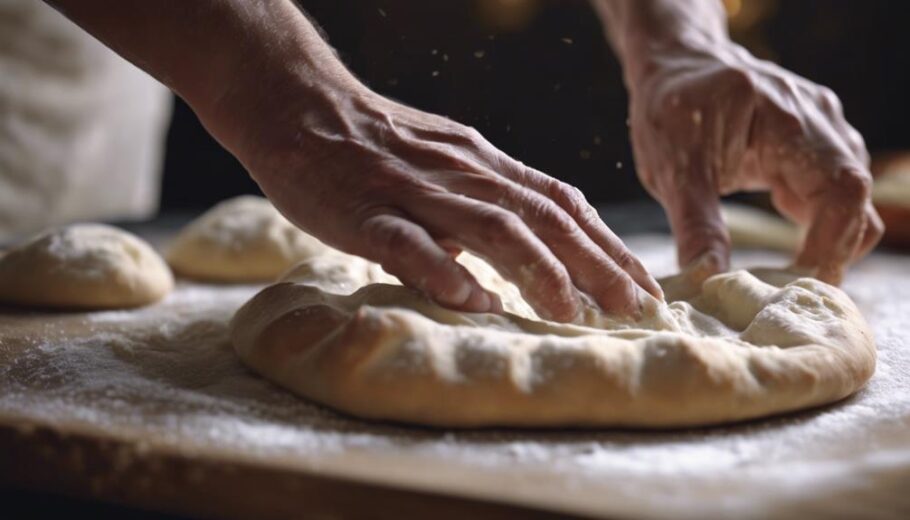
Shaping and Baking
Shape the rested Turkish Pide dough into elongated ovals, known as 'boats,' and prepare them for baking to achieve the signature golden-brown crust and fluffy interior. Before shaping, preheat your oven to 475°F (245°C) and place a baking stone or upside-down baking sheet inside to heat up.
Divide the rested dough into equal portions, then gently stretch each piece into an oval shape, making sure to leave a slightly raised edge around the perimeter to hold the toppings in place.
For that perfect crispy crust, brush the edges of the shaped dough with a mixture of olive oil and water. This step not only adds flavor but also helps achieve a beautiful golden color as it bakes.
Now comes the fun part – adding your creative toppings! Traditionally, Turkish Pide is topped with ingredients like ground lamb, feta cheese, tomatoes, peppers, and herbs. However, feel free to experiment with your favorite toppings like spinach and feta, sucuk (Turkish sausage) with eggs, or even a vegetarian option with roasted vegetables.
Once your pide is topped to your liking, carefully transfer it onto the preheated baking stone or sheet. Bake for about 12-15 minutes or until the crust is golden and crispy. The aroma filling your kitchen will signal that your Turkish Pide is ready to be enjoyed!
Frequently Asked Questions
Can I Use Gluten-Free Flour for Making Turkish Pide Dough?
Yes, you can use alternative flours like gluten-free options when making Turkish pide dough. These flours provide a suitable substitute for traditional wheat flour, catering to dietary restrictions or preferences.
Make sure to follow specific guidelines for gluten-free baking, adjusting liquid content as needed. Experiment with different gluten-free flours to find the one that best mimics the texture and flavor of traditional pide dough.
Enjoy the process of creating a unique and delicious dish!
How Do I Prevent the Dough From Sticking to My Hands?
To prevent dough from sticking to your hands, consider using flour alternatives like rice flour. This can help with the pide shaping process.
Additionally, proper hand techniques, like lightly wetting your hands with water or oil, can reduce stickiness. Adjusting the dough hydration levels can also make it less sticky.
Experiment with these methods to find what works best for you when handling Turkish pide dough.
Can I Freeze the Dough for Later Use?
You can freeze the dough for later use as part of your dough storage method.
To maintain best quality, wrap the dough tightly in plastic wrap before placing it in an airtight container or freezer bag.
When you're ready to bake, allow the dough to defrost in the refrigerator overnight.
Confirm your dough consistency is suitable for freezing to preserve its baking techniques and delicious results.
What's the Best Way to Store Leftover Pide Dough?
To store leftover pide dough efficiently, the best way is to wrap it tightly in plastic wrap or place it in an airtight container. This helps maintain freshness and prevents drying out.
For best results, store the dough in the refrigerator for up to 2 days. Beyond this timeframe, it's recommended to freeze the dough for longer shelf life.
Proper storage guarantees your pide dough stays fresh and ready for delicious baking.
How Can I Achieve a Crispy Crust on My Pide?
To achieve a crispy crust on your pide, make sure your oven is preheated properly and use a baking stone or steel for even heat distribution.
Brushing the dough with olive oil or egg wash before baking helps create a golden, crunchy exterior.
Experiment with different flour types or adding a bit of cornmeal for texture variations.
Mastering baking techniques like adjusting oven temperature and steam levels can also enhance fluffiness.
Conclusion
To sum up, mastering Turkish pide dough requires attention to detail and practice. By carefully selecting the right flour, balancing ingredients, using proper kneading techniques, allowing the dough to rest, and shaping it with creative toppings, you can achieve the perfect pide every time.
Remember to be patient and thorough in your process, and enjoy the delicious results of your hard work. Keep experimenting and refining your skills to create the best Turkish pide dough possible.


